Friday, January 5, 2018

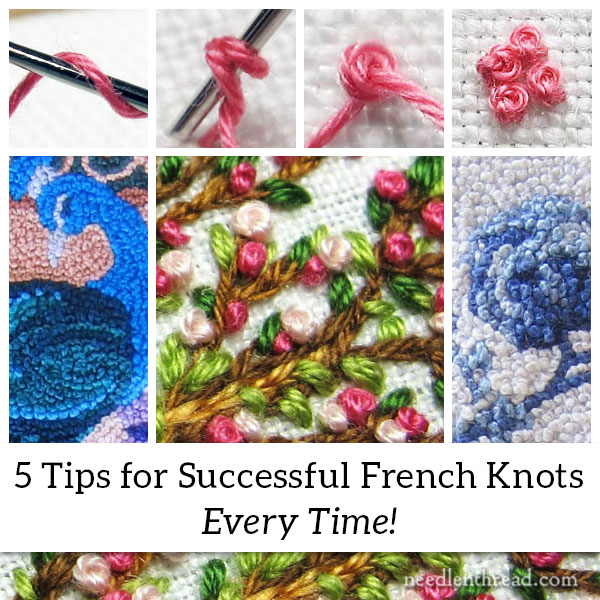
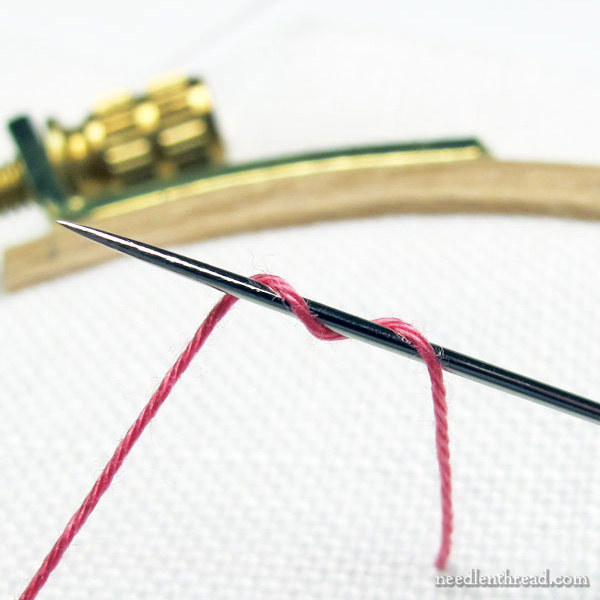
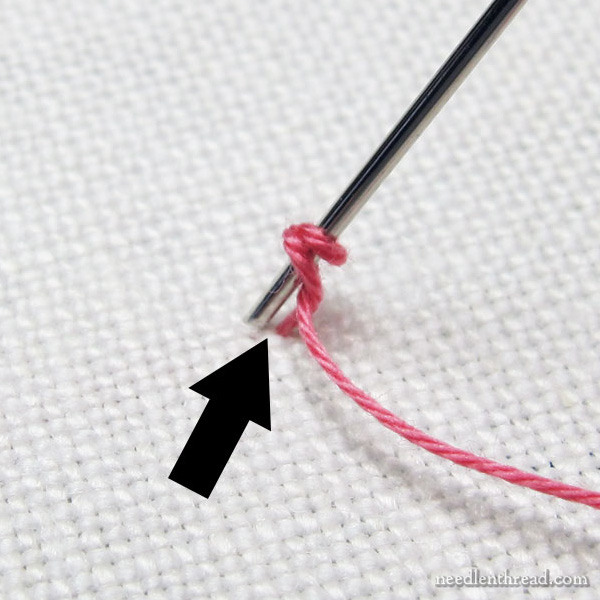
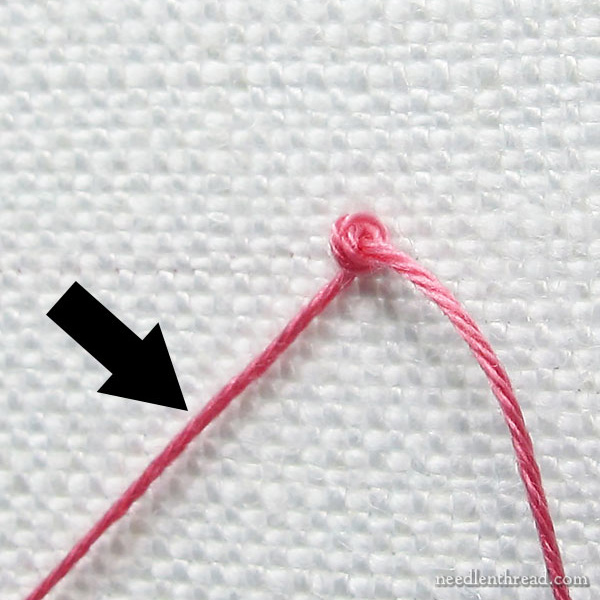
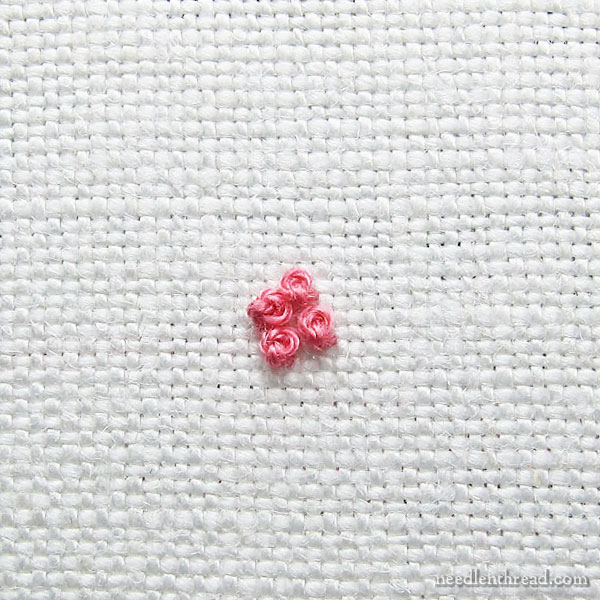
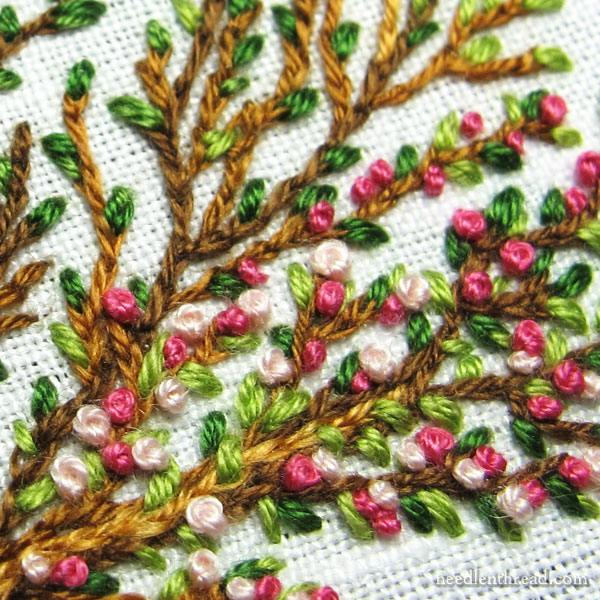
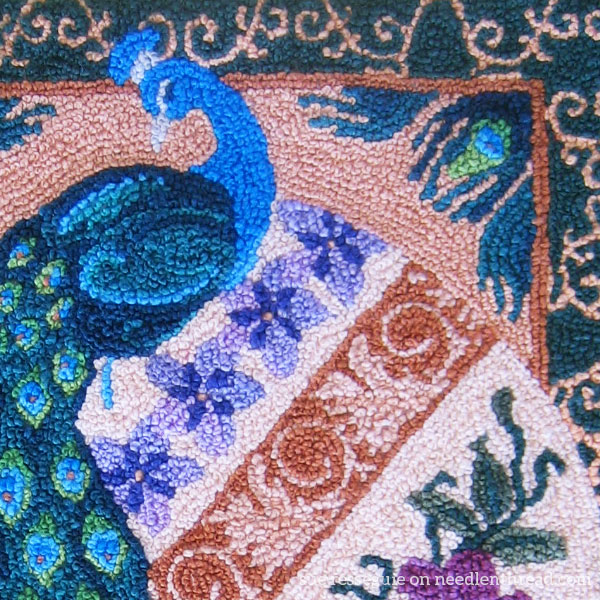
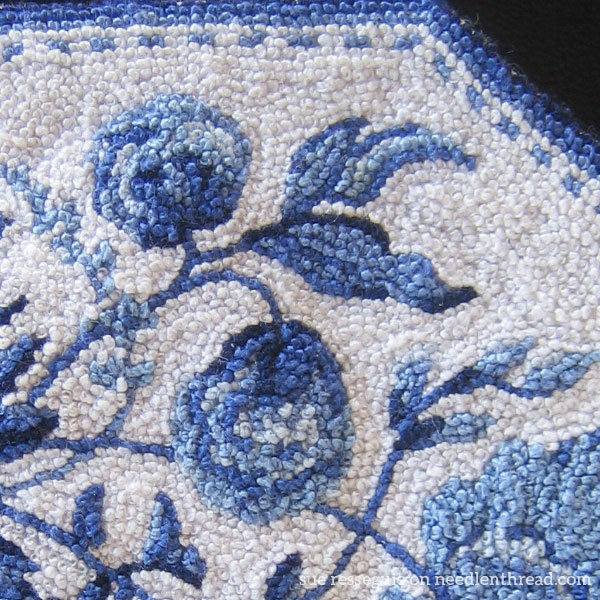
Make Perfect French Knots

A wonderful tutorial on making those dreaded French Knots from Mary Corbet.  She gives wonderful hints for making those little boogers uniform and perfect.  Here is article she shared on her website.

www.needlenthread.com
It's time to overcome, once and for all, the Fear of French Knots – to achieve mastery over this tiny bump of an embroidery stitch, to claim it as your own, so that each French knot you make for the rest of your life is a successful French knot.
French knots are one of the most frequently used embroidery stitches. I rank it right up there among my Top Ten embroidery stitches you should know. Nothing adds a dot or a bump – or creates a whole carpet of textured filling – quite like a French knot does.
So it’s definitely worthwhile to take the time to master the little booger!
If you aren’t perfectly satisfied with your own French knots, here’s a refresher course so that you can create perfect French knots with ease.
How to Make French Knots in Embroidery - 5 Tips
Before we get into the nitty-gritty on French knots, you might check out my how-to video for French knots here. Sometimes, seeing a stitch worked out in video is a good place to start. Once you understand the movement of the stitch, the little nuances that help make the stitch successful are easier to adopt.

Common Difficulties with French Knots

Some of the difficulties that you might run into with French knots include the following:
1. The working thread knots up before it’s pulled through the wraps on the French knot. Once the working thread is knotted, it’s hard to get even a simple slip knot out, because of the wraps, so the whole thread has to be cut.
2. The resulting French knot comes out lopsided or loose on the fabric.
3. The whole French knot pulls through to the back of the fabric as you end the stitch.
4. The knot is too small and tight.
If you follow the tips below, you’ll avoid these difficulties and your knots will turn out great! As with any stitch (or pretty much any endeavor!), practice is the key. The more you practice the stitch, the easier it will become and the better the results.

Tip #1: Number of Wraps

When you set out to make your French knot, consider the number of wraps that you’ll use on the needle.
How to Make French Knots in Embroidery - 5 Tips
Stitch dictionaries vary on this subject, and pretty much every stitcher ends up sticking with a preferred number of wraps.
In some instructions, you’ll see one wrap, two wraps, or three wraps around the needle.
When I make a French knot, I wrap my working thread around the needle twice. I know many stitchers who prefer three wraps, and that’s ok, too!
But I have seen a lot of examples of flamboyant knots out there, where the creator advises “as many wraps as you want” – using up to four or five, or even more! If you’re going for a sloppy look in your knots – if you want, for example, looseness and irregularity – go for it!
But if you want a nicely balanced, regular, consistently shaped, neat knots, don’t wrap beyond three wraps on the needle. The loops can end up loose, they can snag, and they will definitely end up irregular.
I prefer two wraps. If I want a heavier knot or a tinier knot than the two wraps will produce, I change the weight of my thread.

Tip #2: Leave a Space

You might be under the impression, when you make a French, that the needle and thread go to the back of the fabric down the same hole they came out of to start the stitch.
If you go down the same hole, this is where you run into problems with the knot pulling to the back of the fabric.
How to Make French Knots in Embroidery - 5 Tips
So instead of taking the needle and thread to the back of the fabric through the same hole, always leave a little space. That space will ensure that your knot sits up on the fabric where it should!

Tip #3: Tension

You want the wraps to hug the needle, but you don’t want them to choke the needle to death! Hold the working thread so that the wraps are snug on the needle, but not so tight that the thread thins out and loses its natural plumpness. If you’re really pulling tight on that working thread to keep the wraps on the needle, it’s harder to pull the needle through and your knot will end up looking skimpy.
So, once you begin to pull the working thread to the back of the fabric while forming the knot, keep a constant, even tension on the working thread on the front of the fabric.
How to Make French Knots in Embroidery - 5 Tips
In the photo above, I’m holding onto that working thread on the front of the fabric, using a finger or two of the hand that’s holding my hoop.
You want to keep that tension on the thread until the last possible moment, when you only have about an inch or so left to pull through the wraps.
This will ensure two things:
a. that the wraps don’t come undone; and
b. that your thread won’t knot!

Tips #4: Slow Down!

While you’re pulling the thread through, pull slowly – especially after you’ve let go of the working thread.
Yanking the thread through quickly can result in a misplaced or oddly shaped knot and perhaps even one of those rascally slip knots. So take it easy as you pull the thread through.
How to Make French Knots in Embroidery - 5 Tips

Tip #5: The Needle and The Alternate

If you’re going to be working a lot of French knots, consider investing in a range of sizes of milliner (also called “straw”) needles. These needles have a long shaft with an eye that is the same size as the shaft. This helps the needle pull through the wraps more easily.
The milliner needle is used especially for bullion knots, but if you’re working a bunch of French knots, it can come in handy.
You can read more about milliner needles (and other hand embroidery needles) in my article Hand Embroidery Needles: How to Choose Them and Use Them.
And finally, if the French knot still evades you after you’ve put these tips into practice, then you can always consider working the colonial knot in place of the French knot. Some folks have better luck with the figure-8 wrap of the colonial knot. You can find a video for colonial knot here.

French Knots in Hand Embroidery

There are lots of ways to use French knots in hand embroidery.
They’re probably most often seen as flower centers, as single accenting dots and so forth, because they’re perfect for those situations.
But you can also use them as the key component in a piece of embroidery.
How to Make French Knots in Embroidery - 5 Tips
For example, in this spring tree above, I used them as the blossoms. They are the flowers, rather than just a little accent on the flower.
And some folks go much farther with French knots.
For example, Sue Resseguie’s miniature embroidered rugs are made entirely from French knots. They’re gorgeous!
How to Make French Knots in Embroidery - 5 Tips
This is an excerpt from a rug Sue embroidered in French knots, using a black and white coloring book page she found online, featuring a glorious peacock.
How to Make French Knots in Embroidery - 5 Tips
And this one – which melts my little blue-and-while-china-loving-heart – is an excerpt of a French knot masterpiece based on a design from a plate.
I’m pretty sure Sue is a master of the French knot! Aren’t they beautiful?

Practice!

Don’t give up on the French knot, if you’ve struggled with it in the past. Just a little practice, and you’ll get it! And once you’ve got it, it’s like riding a bike – you won’t forget, and it’s definitely worth it!
If you have any questions, comments or suggestions, feel free to join in the conversation below!


Home   |   How To Videos   |   Needlework Books   |   Patterns   |   Tips & Techniques |   Pictures  |  Shop
 
Contact Information: e-mail:
Follow me on Instagram: @needlenthreadmc
Follow me on Twitter: @MaryCorbet 
Find me on Facebook: Needle 'n Thread on Facebook
Find me on Pinterest: Mary Corbet on Pinterest