
2017-05-31 07:30:00-04
|
|
|
I have a rule about the back of embroidery – and it’s pretty much the same rule that applies to… well,
underwear.
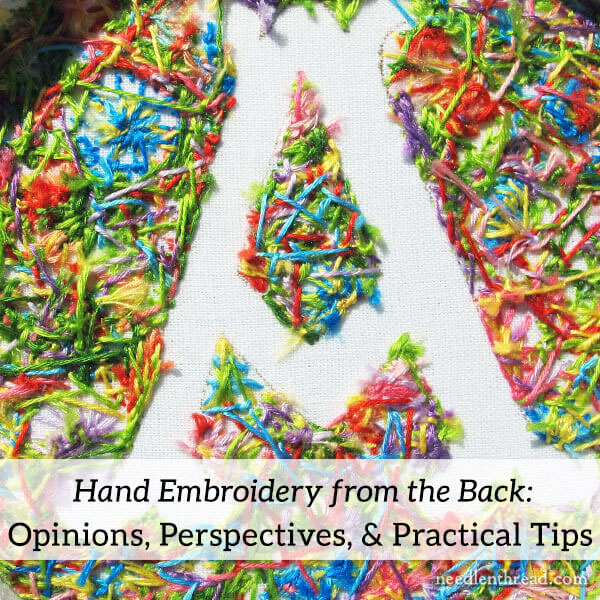
Today, let’s chat about the backside of hand embroidery projects – perspectives and opinions, circumstances that might change your approach, and practical tips!
If you’ve been out and about in the needlework world, you’ve probably met stitchers who are obsessed with the back of needlework.
Never use a knot! they tell you.
Never carry your threads! they exclaim.
Check the back every few stitches! they cry.
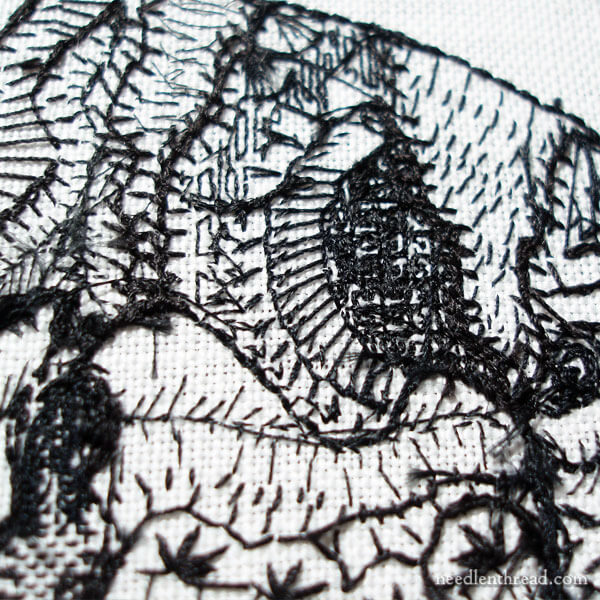
The back’s a mess! they chide.
Approaches like this can be pretty disheartening, can’t they?
Perspectives & Opinions
Perspectives and opinions on how the back of embroidery should look are numerous and varied.
There are those who believe that the back should always look as good as the front.
There are those who believe that you can never use a knot.
There are those who contend that the neatness of the back of embroidery indicates a good stitcher or an inferior stitcher.
On the other hand, there are those who never give the back of their embroidery a second thought, which can sometimes lead to disappointment in the finish.
A Few Guidelines
When it comes to the back of embroidery, a few guidelines can set you up to achieve a neat back – especially when it’s necessary – and can increase your stitching pleasure considerably by eliminating too much worry over what’s going on on the other side
of the hoop.
If the back of the embroidery will be visible in a finished item (think: tablecloth, towel, hankie), you’ll be much more pleased with your finished result if you’ve taken some pains to keep things neat.
Tips for a Visible Back
1. Consider using a waste knot and tacking stitches to start lines or filled areas of embroidery. This will eliminate bumpy knots and their subsequent tails on the back of the work.
Here’s a tutorial for using a waste knot and tacking stitches on a line of embroidery. The
same principles apply to filling an area of embroidery. And, similarly, tacking stitches can be used to end a thread, by working them in an adjacent area that will be covered with embroidery.
3. Avoid carrying threads to a new starting point across the back of the work in areas where there is no other stitching.
3. If you do need to carry a working thread a short distance, and there are other stitches in the area, whip around the backs of other stitches to travel your thread to a new starting point, instead of carrying a thread any distance with no anchoring. Carried
threads can become loose and snag on things, so it’s best (and it looks neater) to secure them by whipping them into adjacent stitches on the back of the work.
Here’s a tutorial on traveling a thread to a new starting point.
3. If you need to work isolated stitches like scattered French knots that are a considerable distance apart, start and end the thread for each isolated stitch.
Here are some tutorials for working isolated stitches like French knots:
Isolated French knots – Part I
Isolated French knots – Part II
4. If you end up with a slip knot on the back of your work that you don’t notice until much later,
this tutorial will show you how to remove the slip knot, secure the ends, and neaten the back of the work.
5. To end your threads when there’s nowhere left to work some tiny tacking stitches that will be covered by other embroidery, either run the thread under the backs of your nearby stitches or whip the thread around the backs of nearby stitches. You can even
work a little half hitch around the last stitch you whip around or pass under, if you need your thread to be extra secure (for laundering items, for example).
Here’s a tutorial on ending threads.
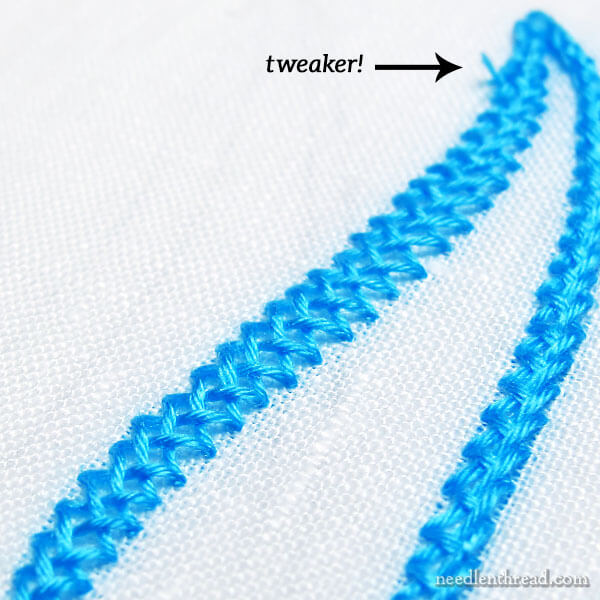
6. Trim the tweakers! When you’re finished with the piece, go over the back carefully and trim any tweakers, or little thread ends that are poking out beyond your embroidered lines and edges.
If the Back is Not Visible…
If the back of the embroidery is not going to be visible in the finished work (think: a framed piece, a pillow cover, a quilt, a finished item of any sort with a backing behind the stitching), then ask yourself:
1. Is your ground fabric transparent to any extent?
2. Is the stitching on the front smooth, flat, and lacking texture, or is it raised, textured, bumpy or heavy?
Here are some tips that will lead to an overall better finished look on the front if you’re working on a lightweight fabric or relying on a very smooth surface on the front:
1. Don’t carry threads from one area of stitching to another, across a blank area (see the points above on visible backs). If carried threads can be seen from the front, the finish will look sloppy.
2. Use the same starting and ending techniques discussed above.
3. Don’t forget to trim tweakers!
If the fabric is moderately heavy in weight and completely opaque, or is backed by another piece of fabric, or if your stitching is heavy with texture, here are some tips that will make your stitching easier, more efficient, less worrisome, and perhaps even
more pleasurable:
1. A thread carried a short distance that won’t be seen from the front is no big deal.
2. A knot that isn’t big enough to cause a bulge on the front of your work is no big deal, so yes, you
can start your embroidery with a knot, if it’s easier for you!*
3. Tweakers are no big deal.
4. And if you get a slip knot and it’s fairly tight and secure, you can whip over it and leave it, or just leave it. Who’s going to ever see it? If, however, you’re afraid it might loosen over time, you can secure it (see the tutorial linked to above).
*Regarding knots: keep in mind, some threads don’t hold a knot as well as others. Synthetics, silk twists & perles, and some cotton perles can be finicky about holding a knot well. But if you’re using regular cotton floss, spun silk, cotton floche and
the like, go for it!
What it Boils Down To
As with any art, craft, or hobby, the last thing you want to do is diminish the pleasure the artist, crafter, or hobbyist takes from the pursuit.
If rules, regulations, and the opinions of others about the way the back of your work should look
diminish your pleasure in stitching, ignore them!
If, however, you are anxious about how the back of your embroidery looks, use the easy and practical tips above as common sense guides to improve the neatness of the back of your embroidery without going to obsessive extremes.
And the Underwear?
Asking to see the back of someone’s embroidery is a lot like asking to see someone’s underwear. The whole point of clothes is the outer layer – that’s the part that’s seen and appreciated. Asking to look at what’s underneath the clothes – well, that’s just
a little weird and more than a little intrusive!
I’m sure there’s an unwritten rule somewhere, that goes something like this:
Never ask to look at someone else’s underwear.
I never have. And I’ve never asked to look at the back of someone’s embroidery.
Don’t sweat over the back of your embroidery! If it needs to look neat, take some simple measures to accomplish that.
If it’s never going to be seen and it doesn’t interfere with what’s seen on the front, then…
…in the scheme of things…
…relative to All the Significant Concerns of Life…
…who really cares?
Questions? Comments? Suggestions?
If you have any easy and practical tips you’d like to share about keeping the back of your embroidery neat, or if you have any questions or comments to add to the conversation, feel free to
chime in below!
For the sake of covering all the bases, sometimes, when embroidery is being professionally judged or evaluated, the back is carefully scrutinized. There are also types of embroidery that rely on a perfect back (like two-sided embroidery). This article
focuses on stitching for pleasure, not questions of professional training.
|
|
|
|
No comments:
Post a Comment