| Visit Needle 'n Thread! |
|
||||||
|
|
|||||||
|
|||||||
Contact Information: e-mail:
Find me on Facebook:
Needle 'n Thread on Facebook
Find me on Pinterest:
Mary Corbet on Pinterest
| |||||||
Saturday, May 11, 2019
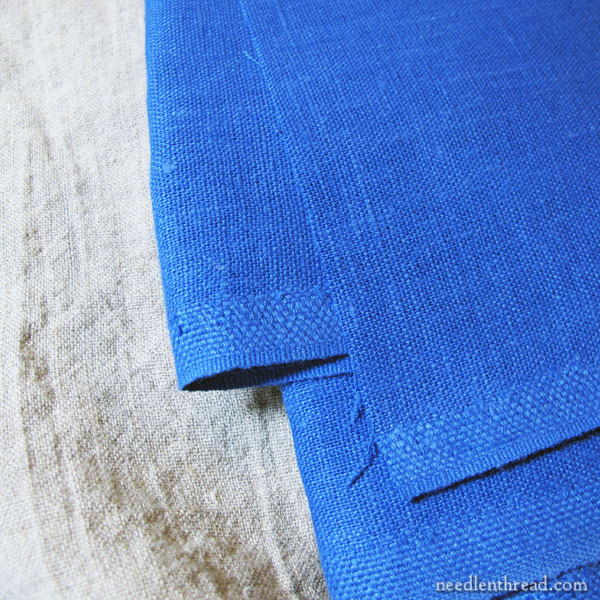
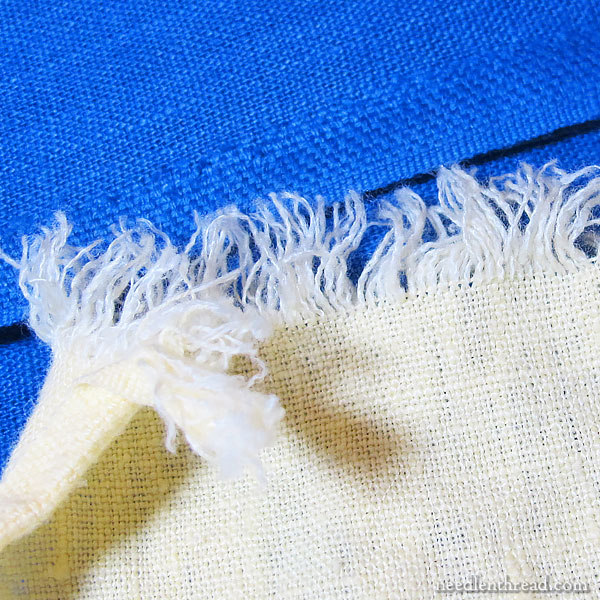
Mary Corbet's Exploring Linen article
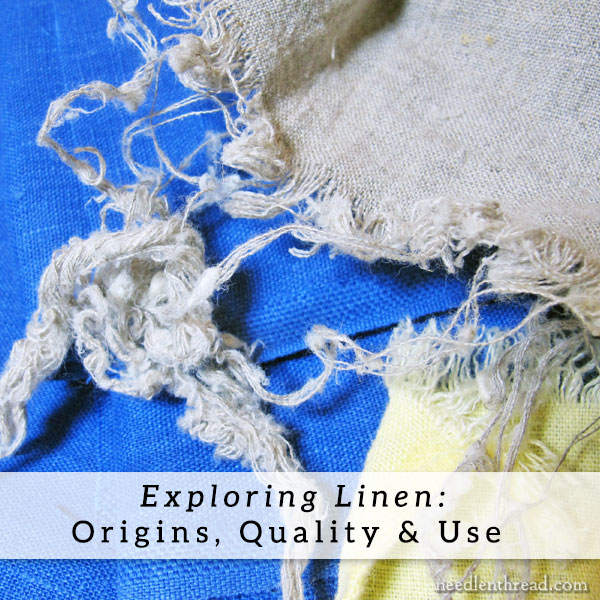
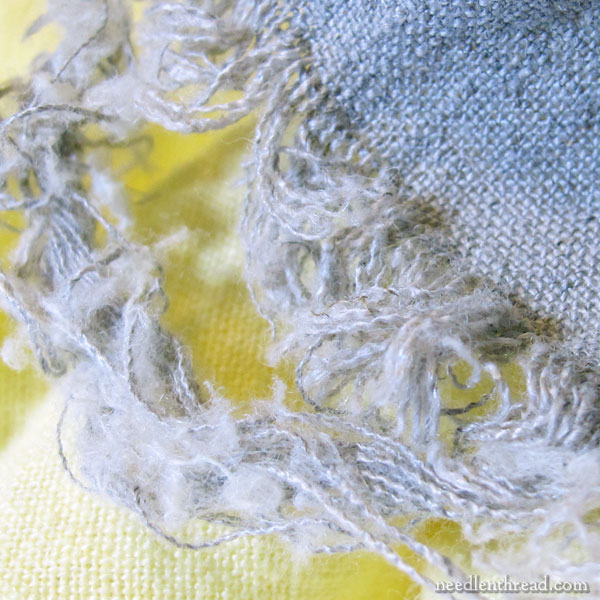
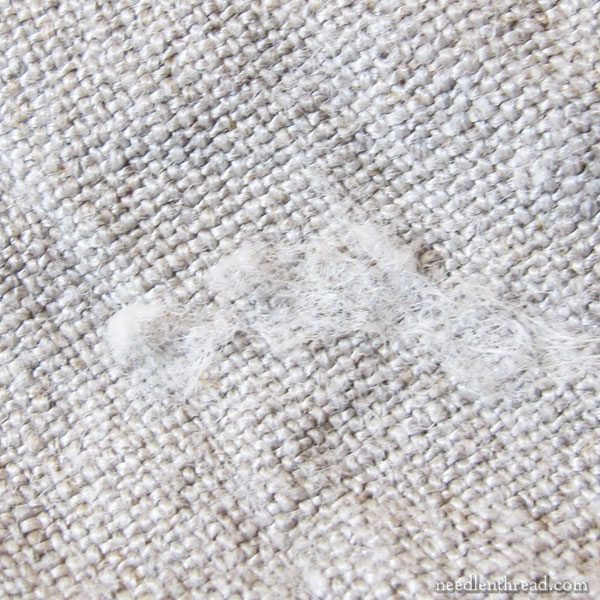
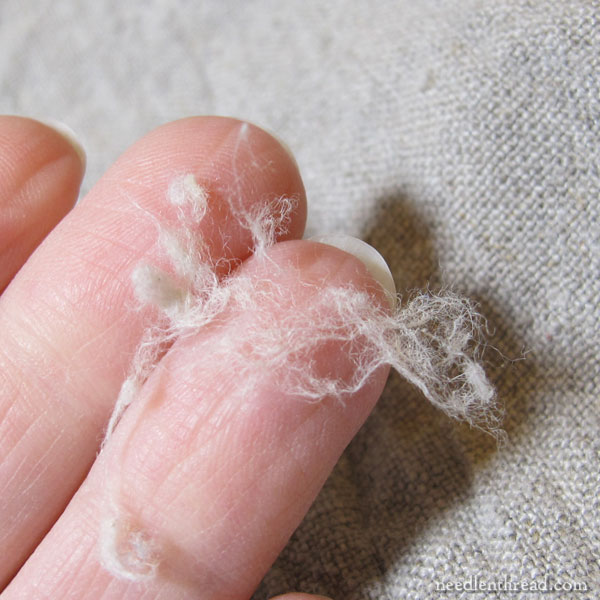
This is an old article from Mary Corbet about Linen fabric. I found it very informative and I want to save it for my reference!


Sunday, December 16, 2018
Progress with Lady of the Flag
We have barely 2 weeks left in 2018. I am not sure if I am filled with happiness or horror at how quickly it has gone. This weekend has brought us unusually warm weather, in the 50° range. The sun is shining so brightly and cheers us all up. I wish there were bright green leaves still on the trees. The sky is amazingly blue today with no white clouds at all. Yesterday morning our cedar tree in the backyard was festooned with red cardinals. How beautiful they look perched in those deep green boughs.
I want to share the progress of my Mirabilia "Lady of the Flag". The first photo is the last image taken on December 5th. The second image is my progress as of today.


I want to share the progress of my Mirabilia "Lady of the Flag". The first photo is the last image taken on December 5th. The second image is my progress as of today.


Progress is slow but steady and I am enjoying myself. Leslie and I stitch via Skype every Saturday morning and the time just speeds by.
That is all I have for now, just sharing the progress. God Bless all of us!
Wednesday, December 5, 2018
Cross stitch tags and Lilac Dreams

Tis way too chilly here in the gentle folds of the Lilac Thicket for these old bones. My lilac trees have lost all of their leaves and stand naked and bare. They are asleep and dreaming of the beautiful fragrant blossoms they will give me when the ground turns warm again.
I have been stitching on my Mirabilia "Lady of the Flag". Here is my progress:

I am planning on giving it some of my attention today. I am off today for the National Day of Remembrance for our late President George HW Bush. I have enjoyed this piece more then I had thought I would. This was something my bestie, Leslie, wanted us to stitch together. Every Saturday morning we Skype and stitch and chat. She lives way too far away in the wilds of Edinburgh Scotland. We have plans of her moving here when I retire in 5 years. She is going to occupy our spare bedroom for the rest of our lives. Pity the victims of Leslie and I as we tear up Missouri careening wildly through our senior years. It will be pretty darn awesome.
As I was perusing my PInterest page, I found darling ideas for cross stitch tags. I followed one of the links to a site which offers a few free patterns for some cute tags. It is a German site (I think) which seems to deal with card making.

Marianne Design has 3 free cross stitch sheets available as PDF downloads. You could use these as small ornaments or charms to wrap around a candle. They are really sweet little designs.


Orin and I send out to you and yours all the beautiful sentiments of this spiritual season. We rejoice in the birth of our Lord and Savior Jesus Christ.
Sunday, November 18, 2018
Telescoping magnet, AKA cheap piece of crap back scratcher
Right from the fertile and demented mind of me, another homemade tool. So my bestie has a real telescoping magnet to pick up things that have fallen to the floor. I wanted one but didn't want to spend the money. I recalled that right there in my pen cup was a back scratcher that would extend out. It really was a cheap piece of crap that everyone got during welcome season at my previous job. It was useless as a backscratcher and I figured it would break if I tried scratching the itch to roughly. So I used E4000 glue on the tip and adhered a small earth magnet I had and WHA LAH, a telescoping magnet.
You could do the same with just about any long thin object, a dowel rod or yard stick. Or perhaps you too have a cheap piece of crap extending back scratcher at your home too! Think outside the box my dear friends. Let your imagination blossom!


You could do the same with just about any long thin object, a dowel rod or yard stick. Or perhaps you too have a cheap piece of crap extending back scratcher at your home too! Think outside the box my dear friends. Let your imagination blossom!


Tis the Season (of stitching of course!)

Life here in the Lilac Thicket is beautiful as the holidays quickly approach. We have had our first snowfall of the season. The weather has been warm and the weather has been frosty. Mother Nature just can't decide what she is aiming for here. I think she is a typical woman.
I found myself a couple of great little bargains, one being the pumpkin basket pictured above. I love the double handles and the touch of bittersweet around the opening. It was 70% off at Michaels as was the sweet plaid ribbon. The "Home" was a $3.00 find at Dollar General. It is simple yet has a touch of bling for the winter season. You can also see some progress on my "Autumn Still Life".

I gave into temptation and purchased Mirabilia's new Lady Justice. I absolutely love her. I had Sue Hillis' "Hello Halloween" fall into my cart. I just couldn't resist all those skeleton's in a pick up truck heading off to rattle their bones at some spooky haunted cemetery any longer.


Leslie and I were talking about how my stashing habits have changed. I have been to the LNS only once this past year. I really have been making due with what I have. I have so very too much stash and have a lot of bills stacked up as we are still paying off Orin's medical bills from his cancer scare/miracle earlier this year. I still have more spending I need to cut out, waste less, do without or whatever. We live in such a consumer driven culture, it is hard sometimes to not get caught up in it. I have found myself more and more being really critical about things I want to purchase. I ask myself do I really "need" it. Will I use it or will it just sit for years before being given away or thrown away. I find Orin and I eating more at home and really cutting down on processed foods, making more and more from scratch. Last month I tried my hand at making laundry soap. Tide pods are 22¢ per load and my from scratch detergent is 8¢ per load. I cannot tell the difference in the clean laundry. I am looking at this as a challenge and a choice, a new life style so to speak. God is guiding me well so far.
I am so thankful for those who read my blog of nothing. I know others think I a boring person, which I am but I am really a boring BLESSED person and honestly that is DAMN terrific. Have a wonderful Thanksgiving and give all your gratitude to our Creator.
Sunday, October 21, 2018
New homemade stitching musts and my current project.
I have been gone for quite a while. I hadn't realized it is nearly 5 months. I was working recently on an evening shift from 3:30pm to midnight. It was very hard for me, I am by nature a morning person. I transferred to days 2 weeks ago and already am getting my sleep patterns switched.
It is getting cooler out and so there is no stitching in the sunroom now. All stitching is done in my Happy Room. I have so many projects in the works that I can't count that high. Periodically I work on my picture of Orin and I. Right now I am working on a pattern I bought on Etsy from "Nonstop Stitch". Her designs are incredibly shaded and I am enjoying working on a design named "Autumn Still Life." Here is a photo of the design and also my progress.


 It is 2 cake pans purchased at Dollar Tree and the round glass marbles from the floral department also from Dollar Tree. You dump some of the marbles the bottom pan and place the second on top of that. The top pan spins round very easily. I hot glued magnets on the bottoms of some of the things, like the Thread Heaven box and it sits nicely on the lip. I also wanted some sort of a glass or container to stand my tools in. A plastic dixie cup from the bathroom was perfect but it would easily fall over so...

 I cut the foam core board into thin strips and poked a hole near the top so I could use a pipe cleaner to tie it to the basket with a couple of twists. I did the at the front and back of the of the basket. I have 4 rows in each basket to stand the baggies with the floss. So each basket holds about 100 different colors of floss. I did not want the floss to fall out should the basket tip over so I cut the foam core board to place over the top again anchoring with pipe cleaner hinges at the back of the basket. I also wanted to have a latch at the front, so again I used the pipe cleaner. With the lids they stack nicely also.


It is getting cooler out and so there is no stitching in the sunroom now. All stitching is done in my Happy Room. I have so many projects in the works that I can't count that high. Periodically I work on my picture of Orin and I. Right now I am working on a pattern I bought on Etsy from "Nonstop Stitch". Her designs are incredibly shaded and I am enjoying working on a design named "Autumn Still Life." Here is a photo of the design and also my progress.


I am stitching it on a 28 count Lugana in Burnt Peach, I believe is the name. It is lovely to work on and enhances the autumn colors of the design. It calls for 26 DMC colors and there are some blended thread stitches which I love. The back stitching is what really makes the design. The chart she provides is lovely. One chart is black and white symbols and if you prefer the colored squares with symbols as your chart to work with, it is provided. There is a third chart which has all the back stitching. I highly recommend her charts, large and easy to read.
I have also made myself a couple of tools for my stitching pleasure. The first is a lazy susan.


I hot glued a magnet to the bottom of it and now it will never tip over! I also hang my scissors from a magnetic clip on the side of the pan that hangs over the edge of the desk. I love it and I spent only $3.00 for the items I didn't have.
All of my DMC floss was all dumped in 3 small drawers of a plastic storage tower. I wanted to organize it so I could easily find floss and not run out and buy a skein only to end up with tons of duplicates. The price is going up and up and up and I am trying to be more wise and frugal in my pocket. I work too darn hard to waste it so carelessly. I had bought some rectangular plastic baskets to organize a lower cabinet in the kitchen and I got to measuring and thinking. I had foam core board and this is what I came up with.
 I cut the foam core board into thin strips and poked a hole near the top so I could use a pipe cleaner to tie it to the basket with a couple of twists. I did the at the front and back of the of the basket. I have 4 rows in each basket to stand the baggies with the floss. So each basket holds about 100 different colors of floss. I did not want the floss to fall out should the basket tip over so I cut the foam core board to place over the top again anchoring with pipe cleaner hinges at the back of the basket. I also wanted to have a latch at the front, so again I used the pipe cleaner. With the lids they stack nicely also.

You could use different colored baskets for each brand of floss and organize all of it this way. One could get all fancy with it but I was looking for function and I am thrilled with the result.
I have some new free design links I will try to add this week. I use this blog as my go to site for all that is free cross stitch designs. Life is good and I am blessed.
Friday, June 22, 2018
Fabulous Friday Cross Stitch plans
God has blessed me with a wonderful Friday. I have pork in slow cooking in the oven. I love pork however we usually don't have it in the house as hubby doesn't eat it. I am going to visit Hobby Lobby tomorrow and check out the Simplicity patterns which are on sale for 99¢ I plan on baking a cake this weekend and make homemade pizza. I hope to connect with my best friend, Leslie, and we will stitch together via Skype. The thrift shop is calling my name and I must respond. Sunday is my wedding anniversary. I have been blessed with 7 amazing years with my perfectly perfect husband Orin. He has brought peace, joy, happiness, contentedness to my life and I will be forever grateful for this perfect life he has gifted to me.


Doodle Dog Primitives sent out their newsletter with a fabulous resource for the stitcher. A floss conversion chart for Valdani floss to DMC floss was linked to the article. Here is the link:
I really like Valdani floss however it is pricey and this conversion provided by Valdani makes the job of converting so much easier. I have also added this link to the Inspiration section on the left side of my blog.
I have also been adding images of finished Just Nan freebies to my Just Nan Complimentary Design List page. I have a lot of her freebie patterns and a good many allow them to be reproduced to be shared however not electronically. Contact me if you are interested in a copy of one of her free designs and if the copyright allows I will reproduce and send it to you for a self addressed stamped envelope. I will NOT copy all and send them to one person. I will send only one or two per person.

Luli has a new entry to her blog. She has the most perfect cherry free design. I thought how perfect it would be as a border to a kitchen towel or a set of curtains. The cherry motif is 30 stitches high and 29 stitches wide. The design calls for 7 DMC floss colors. Check it out here: http://ioluli.blogspot.com/

So I have started my La De Da free design "Flag City". I am stitching it on a scrap of 28 count Picture It Plus in the color Cauldron. I am using 1 strand of floss. I am really liking how it looks. I am usually a 2 over 2 girl. I will be working on this over the weekend. I have enjoyed this small project.
Eight days remain in June and please enjoy each and every one. God Bless!
Wednesday, June 20, 2018
Wild and wonderful Wednesday stitching news!

Here we are flying close to July. I believe June is flying freakishly fast! Today I am adding a couple of new links to my growing list. The first link is to a site where you can find terrific tutorials on finishing your stitching. Focus on Finishing is a Wordpress blog with excellent instructions on finishing on anything from bags and sachets to stitching accessories. It is a great resources for the finishing challenged stitcher, such as myself.
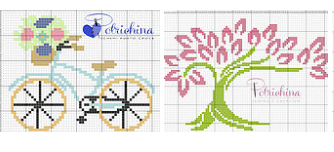
I am also adding a site called Katia Potrichina. She has what I call color book designs which are big blocks of color with no back stitching. You click on the image and it opens to a chart with no floss key. There you can copy and save the image to your computer. I do find it a down side you must select your own colors to stitch with. I am color challenged so sometimes I struggle to find the right colors. My two favorite free designs from Katia are pictured above.

I checked out the free fractal bookmark offering from Cross Stitch Collectible and found the really pretty design pictured above. It reminds me of a stained glass window. When you click on the download button a window appears asking for your e-mail address. They will send you a link to the free download. The pattern is in PDF format. There are 6 pages to this bookmark pattern and the overall stitch count is 75 by 200. Now hold onto your hat, I counted 67 colors of DMC floss for this little beauty. I image it is a stunner when finished. I just might have to try this one. I really like it.

I was browsing PInterest today and ran across a LaDeDa free design I had in my voluminous stash. I liked it and decided since the 4th of July is coming up on us fast. So I pulled it out and fished thru my floss and fabric and this is what I came up with:

I have a piece of Picture This Plus 28 count in the color "Cauldron". I chose floss colors Black Crow, Gold Leaf and Mulberry in GAST and Old Blue Jeans in Crescent Colour. I plan on starting it after a nap. Here is the link to the LaDeDa "Flag City USA".
Last but not least, I have no clue as to how many tape measures I have running around my Lilac Thicket. I am certain whenever I want to measure something in my stitching, I can't find one. So I made one and taped it flat to my laptop and now I will always have one I can find.

I am I a genius or what? God Bless all my stitchy friends.
Saturday, June 16, 2018
From Mary Corbet about floor stands.
The following article is from Mary Corbet's Needle and Thread
Mary Corbet's Needle and Thread . You can go to her site by clicking the previous hyperlink.
I really liked the article and it explained what a floor stand was and what to look for. It is an excellent start to read it before you begin looking for one.
Mary Corbet's Needle and Thread . You can go to her site by clicking the previous hyperlink.
I really liked the article and it explained what a floor stand was and what to look for. It is an excellent start to read it before you begin looking for one.
What would life in the stitching world be without the tools that make needlework easier, more comfortable, and more efficient?
One tool that dedicated stitchers eventually invest in is the needlework stand – a device that holds a frame or a hoop so that you don’t have to! It is essentially a third hand (or pair of hands) that leaves your own two hands free to stitch. Or, in today’s terms, you could think of a needlework stand as a “third party app” that really does make things work better!
Wrist, arm, neck and back strain; finger and hand cramps; strange sitting positions to balance large frames; awkward stitching when you need to use both hands – all of these are things of the past, when you have a needlework stand!
If you haven’t reached the point of using a stand, but if stitching has become a major part of your creative life, chances are, you’ll eventually consider one. Or perhaps you have a stand you’re not thoroughly satisfied with?
Today, let’s navigate through the world of needlework stands together! We’ll talk about different types of devices to hold needlework, we’ll discuss the benefits of a floor stand, we’ll chat about what to look for in a good needlework stand, and we’ll explore some of the popular floor stands on the market today.
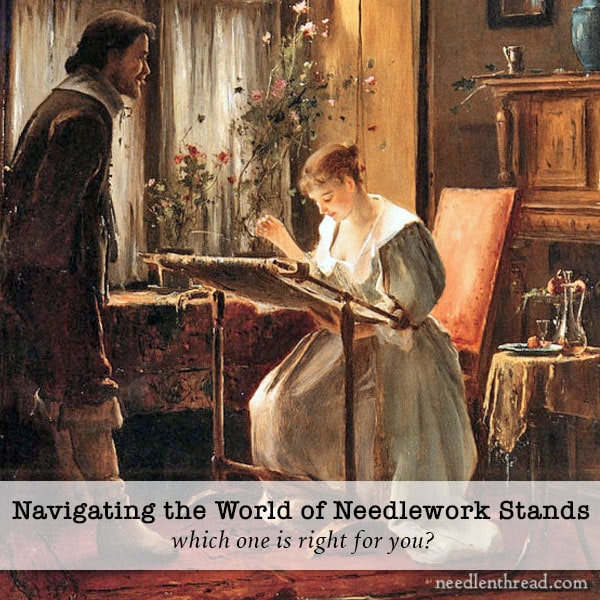
When it comes to stands that hold your embroidery hoop or frame for you, there are essentially five types that can do the trick:
There are floor stands, which stand independently on the floor.
There are lap and table top stands, which rest either on your lap or on a table top in front of you.
There are clamp-on stands, that clamp onto a table top.
There are sit-on stands, that can serve as a table-top stand as well.
And there are trestles, which are the “big guns” of large needlework frame supports.
Today, we’re looking at the Floor Stand, specifically. We can look at other options down the road, but because the floor stand is usually a fairly hefty investment that requires a bit of pondering, it makes sense to focus on it first.
Benefits of The Floor Stand
The benefit of a floor stand is that it is independent of you and it is independent of any furniture around you. You can pretty much set up a floor stand anywhere it will fit, and the only thing you need to bring to it is a chair and your stitching stuff.
A floor stand rests in front or to the side of you and holds your needlework frame or hoop up in front of you while you stitch.
What to Look for in a Floor Stand
There are many manufacturers of floor stands out there! And there are many good ones on the market. When it comes to choosing one, you want to look for the following:
1. Extension & adjustability: Does it offer enough extension and can it be adjusted in various ways so that it reaches you comfortably in your favorite spot for sitting? If you sit, for example, in a recliner, some floor stands won’t work for you. Take into consideration, too, whether or not you want the stand in front of you or to the side, with the work extending over your lap.
2. Balance: Is the floor stand engineered to hold large frames and even attachable accessories (like magnifiers or lights, chart holders, tool trays) without becoming top heavy and toppling?
3. Parts & Construction: Is it made with quality parts that are easy to tighten and adjust when need be? Do all the parts fit together and move as they should, without rubbing or sticking?
Popular Brands of Floor Stands
|
Thursday, May 31, 2018
Call me fan girl, I love Just Nan!

I first became acquainted with her designs thru a stitch group I was a member of in the early 90's. We met every two weeks in one of our homes. Well Sandy, (not me) had her staircase lined with delicious samplers. The most striking to me were the delicate and intricate looking band samplers of Nan Caldera. She had bands of different specialty stitches which challenged the stitcher. I really fell in love with the style.

A newsletter came to the house from my favorite local shop "Just Needlin'", which is now closed. She was offering a class project and the design was "Glorianna", Nan's first angel design. This was the first project that I worked over one stitches. It gave her face a finer look. I had so much fun at that workshop and I was hooked.
Nan began the Class Project series which were only available thru the shops and I loved the "Bee Blossom" shop model and immediately signed up for it. That challenged me and inspired me and I wanted more. My pocketbook did not always allow me to buy the class projects and I so badly wanted to stitch Pansy Cameo. It took me years before I found it marked down at "Rainbow Over the Prairie" in Wakrusa, Kansas, which is long gone. I was over the moon.

Over the years I have bought sometimes with abandon and other times frugally depending on my finances. I am quite happy with all that I have. My favorites are Nan's angels, Liberty Angel is my favorite, her vintage band samplers, the pink cards which have a charm attached and of course the complimentary designs. Nan has been very generous with her complimentary designs.

When I was compiling a design list which I am using as a check list, so I don't purchase a design more then once, I was struck by the vast variety of designs but all with a distinctive Just Nan flair. I cannot imagine the creativity gene she must possess.
Nan began designing in 1991 and her first design hangs in the office of Lindy Legner, the owner of The Silver Needle in Tulsa, Oklahoma. The first design was never for sale it was for a retreat. Nan worked at The Silver Needle for several years.
Although Nan Caldera is not the first, nor last, cross stitch designer, she is the one who spoke to me about the beauty of my chosen hobby. She has had a great influence in my design tastes and she showed me I can stitch more then just XXX. I admit it, I have a girl crush on her, she is my favorite celebrity. May she never stop designing.

Monday, May 14, 2018
I do veggies, do you?

I am a member of Daily Cross Stitch dot com. I waited until there was a membership sale and paid $10.00 for a year. Each day two designs are released, one for free and one exclusively for members. The designs are what I call coloring book designs, blocks of color with no back stitching and fairly quick stitches. There are some really darling little designs. If you stitch greeting cards this site will have a multitude of designs for you.
This vegetable design caught my eye. I thought it would be great stitched up for our breakfast nook. I wanted to make it look vintage so I pulled out my fabric and found this lovely piece of Crescent Colours which appealed to me. It is called Green Meadows which is evenweave in 28 count. Of course Crescent Colors is now gone from the market. I then decided no to the DMC floss, it was too vibrant for the look I am going for.
I pulled out my Olde Willow Stitchery Hand Dyed Threads (also no longer available) and I knew the colors were perfect for the design. These are the colors I chose:
Sweet Pea (onion tops)
Winter Wheat (corn kernels)
Black Raspberry (egg plant)
Orange Sherbert (carrot)
English Q Rose (radish)
Tabasco (tomato)
Flamingo (light part of mushroom & onion)
Great Pumpkin (dark part of mushroom & onion)
Creamed Spinach (green thing above corn and carrot)
Solitude Green (broccoli bottom)
Weeping Willow (broccoli bottom and eggplant top)

I decided to play with staining the fabric with the walnut ink crystals. I wet the fabric and sprayed the diluted crystals on the fabric. I found the wet fabric did not hold the staining as well as I hoped. Next time I will stain the fabric when it is dry. The staining on the fabric is very subtle, I like it but think I would like it a bit darker.

When I was at Dollar General I found this plastic frame with chicken wire. It was $3.50 and I love it. I am going to attach via magnets the stitched piece to the chicken wire. I want to add a bow out of a country gingham fabric and possible a few wild flowers. I will be able to change out elements due to the way I want to attach with magnets.
I will share the finished piece and look forward to finishing this fun piece which has come together in unexpected ways. The best laid stitching plans always have surprises.
Sunday, May 13, 2018
I see the future and it looks beautiful!

Yesterday the postman brought me the latest issue of The World of Cross Stitching, a UK magazine. It has some cute designs in it such as the bunny pictured on the cover and the mug cozies. But the design that caught my eye is...

The designer of these gorgeous needlework accessories is Faby Reilly. I love the colors and the peacock feathers are whimsical and beautiful. There are a few beads and sequins incorporated into the design. Directions on finishing are included. The color key includes DMC, Anchor or Madeira threads. I can envision some blending filaments to give it added bling.
Do I need to start a new project? Well that is a silly question because, we all know the more the merrier.
Thursday, May 3, 2018
Virtual Sunroom Stitching Group via Skype

Good morning stitching friends. Would anyone be interested in a virtual stitching session from the sunroom? You would need a Skype account, which is free. Let me know if you are interested. I think it could become a regular fun way to connect with all my gentle stitchers? Either leave a comment or e-mail me at pink-crickets@hotmail.com.
Tuesday, May 1, 2018
Price gouging in the needlework industry

I love supporting my needlework industry. I would rather purchase a design then have someone hand me a photo copy of the pattern. I do think that the prices on these charts has gotten way out of hand.
I recently saw this new series by Amy Bruecken called "Holly Jolly All Year Long". It is adorable. It is a 13 part series. Each part is $10.00, I think my eye balls popped out of my head and bounced around the room a few times. A whopping $130 for this series? You are kidding me right?!
I am thoroughly disgusted by the price. I am sorry dear Amy, love your design but I think your pricing is way too dear. I have noticed the trend that designs are mostly single designs rather then a leaflet of several. Stoney Creek is the only designer out there, that I can think of at the moment, that still offers multiple designs for a single price.
The copyright issue is one that chaps my hide. Designers blame the internet for the declining sales due to illegal copies and shops closing. Boy do the trolls love to pile on with the holier than thou attitude to beat down anyone who mentions copying charts. My take on the issue is much more realistic. Declining sales come from stitchers who are tired of being price gouged. Patterns cost the brick and mortar stores half of the retail price. A chart that costs the stitcher $130.00 costs the shop $65.00.
Brick and mortar stores are closing due to the poor economy and the reality that shop owners who have been in business for 20 years of more are ready to retire and cannot find a new buyer due to the poor economy.
I know that my stash enhancing has slowed down to just a trickle. I refuse to pay these ridiculous prices anymore. I have so many magazines, leaflets and tons of free designs that I really don't need anything. My financial status has changed and it just won't allow me to buy willy nilly anymore.
I have supported the needlework industry since 1986, that is 32 years now. I have done more then my part in support. I also know that I am being played when a series costs $130. I would love to hear what you have to say.
Subscribe to:
Posts (Atom)